What Is Futures Trading and Why Do People Do It?
Futures trading lets you bet on whether a cryptocurrency’s price will go up or down — without owning the actual coin. The two key advantages over spot trading:
- Leverage: Control a $10,000 position with $1,000 (10x leverage)
- Short selling: Profit when prices drop, not just when they rise
The downside? Leverage amplifies losses just as much as gains. A 10% move against your position at 10x leverage means 100% loss — liquidation.
This guide covers everything you need to start trading futures on Binance safely.
Setting Up Your Futures Account
Prerequisites:
- Binance account with KYC verification completed
- Signed up with referral code RATE20 for 20% off futures fees
- 2FA enabled
Activation steps:
- Go to Derivatives → USDT-M Futures
- Binance will ask you to open a futures account (one-time setup)
- Take the required quiz (basic questions about futures trading)
- Transfer USDT from your spot wallet to your futures wallet:
- Click Transfer (arrow icon between wallets)
- Select From: Spot → To: USDT-M Futures
- Enter the amount
- Confirm
Start small. Transfer only what you’re willing to lose while learning. $50-100 is plenty to start.
Understanding the Futures Interface
The Binance futures trading interface has several key components:
The Chart
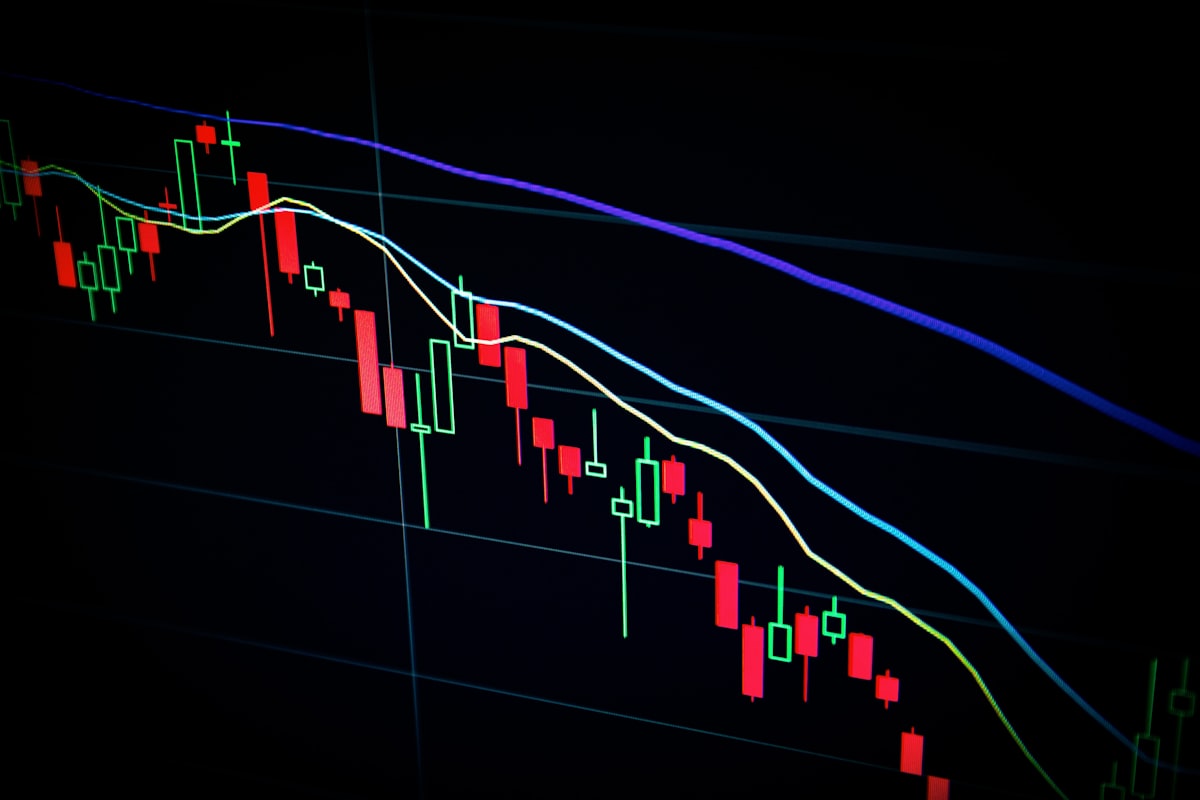
- Candlestick chart showing price history
- You can add indicators (RSI, MACD, Bollinger Bands, etc.)
- Timeframes from 1 minute to 1 month
The Order Book
- Left side: Buy orders (bids) in green
- Right side: Sell orders (asks) in red
- Shows the depth of liquidity at each price level
The Trading Panel
- Where you place orders
- Select Long (buy) or Short (sell)
- Set leverage, order type, price, and quantity
Position Panel
- Shows your open positions
- Displays unrealized PnL (profit and loss)
- Mark price, liquidation price, and margin ratio
Leverage: The Double-Edged Sword
Leverage lets you control a larger position than your balance. But it doesn’t change your actual profit/loss calculation — it just determines how much margin you need.
How leverage works:
| Your Balance | Leverage | Position Size | 1% Price Move |
|---|---|---|---|
| $1,000 | 1x | $1,000 | ±$10 (1%) |
| $1,000 | 5x | $5,000 | ±$50 (5%) |
| $1,000 | 10x | $10,000 | ±$100 (10%) |
| $1,000 | 20x | $20,000 | ±$200 (20%) |
| $1,000 | 50x | $50,000 | ±$500 (50%) |
Liquidation prices at different leverages:
For a BTC long entry at $60,000:
| Leverage | Approximate Liquidation Price | Price Drop to Liquidation |
|---|---|---|
| 2x | ~$30,300 | ~49.5% |
| 5x | ~$48,600 | ~19% |
| 10x | ~$54,600 | ~9% |
| 20x | ~$57,300 | ~4.5% |
| 50x | ~$58,900 | ~1.8% |
| 100x | ~$59,450 | ~0.9% |
At 100x leverage, a 0.9% move against you wipes out your entire position. BTC regularly moves 1-3% within minutes.
Recommended leverage for beginners:
- Start at 2-3x maximum
- Only increase after you have consistent profitable results
- High leverage is for experienced traders with strict risk management
- Most professional traders use 3-10x, not 50-100x
Order Types Explained
Market Order
- Executes immediately at the best available price
- Fee: Taker fee (0.05%, or 0.04% with referral)
- Use when: You need to enter/exit NOW (breakouts, stop losses hit)
Limit Order
- Executes at your specified price or better
- Fee: Maker fee (0.02%, or 0.016% with referral) — 60% cheaper than market orders
- Use when: You can wait for your price (planned entries, take-profit targets)
Stop-Loss Order
- Triggers a market or limit order when price reaches your stop price
- Critical for risk management — set this on every trade
- Types:
- Stop Market: Triggers a market order (guaranteed fill, possible slippage)
- Stop Limit: Triggers a limit order (exact price, but may not fill in fast moves)
Take-Profit Order
- Automatically closes your position at your target price
- Set this alongside your stop-loss for a complete trade plan
Trailing Stop
- Follows the price as it moves in your favor
- Triggers when price reverses by a set percentage
- Good for catching larger moves without constantly monitoring
Your First Futures Trade: Step by Step
1. Choose your trading pair
Start with BTC/USDT — it has the deepest liquidity and tightest spreads.
2. Set your leverage
Click the leverage button and set it to 3x (beginner-friendly).
3. Analyze the chart
- What’s the trend? (Look at 4h and 1h timeframes)
- Where are support and resistance levels?
- Are there any upcoming events (FOMC, CPI data)?
4. Plan your trade
Before clicking anything, determine:
- Entry price: Where you want to get in
- Stop-loss price: Where you’ll exit if wrong (1-2% of position)
- Take-profit price: Where you’ll take profits (2-3x your risk)
- Position size: How much of your balance to risk (max 2% per trade)
5. Place your orders
- Select Long or Short
- Choose Limit order type
- Enter your entry price
- Enter your position size (in USDT or contracts)
- Click to place the order
- Immediately set stop-loss and take-profit using the TP/SL button
6. Manage the trade
- Don’t move your stop-loss further away (most common mistake)
- Consider moving stop-loss to breakeven after the trade moves in your favor
- Take partial profits at predetermined levels
- Don’t add to losing positions
Risk Management: The Only Thing That Matters
The number one reason futures traders lose money isn’t bad entries — it’s bad risk management.
The 2% Rule
Never risk more than 2% of your total futures balance on a single trade.
Example:
- Futures balance: $1,000
- Max risk per trade: $20
- If your stop-loss is 2% away from entry at 3x leverage:
- Position size: $20 / (2% × 3) = $333
Position Sizing Formula
Position Size = (Account Balance × Risk%) / (Stop Loss % × Leverage)Risk/Reward Ratio
Only take trades where your potential profit is at least 2x your potential loss:
- Risk $20 to make $40 (2:1 ratio) — minimum acceptable
- Risk $20 to make $60 (3:1 ratio) — good
- Risk $20 to make $20 (1:1 ratio) — not worth it
Maximum Open Risk
Don’t have more than 5-6% of your balance at risk across all open positions. If you have 3 trades open, each risking 2%, your total exposure is 6%.
Fees: How They Eat Your Profits
Futures fees are calculated on your total position size (including leverage), not your margin.
Fee comparison:
| Setup | Maker Fee | Taker Fee |
|---|---|---|
| No discounts | 0.0200% | 0.0500% |
| With referral (RATE20) | 0.0160% | 0.0400% |
| With referral + BNB | ~0.0144% | ~0.0360% |
Real impact on a $10,000 position (round trip):
| Setup | Total Fee |
|---|---|
| Market orders, no discount | $10.00 |
| Market orders, with referral | $8.00 |
| Limit orders, with referral | $3.20 |
| Limit orders, referral + BNB | $2.88 |
Using limit orders with referral saves 71% on fees compared to market orders without discount. Over hundreds of trades, this is the difference between profit and loss.
Common Beginner Mistakes
1. Starting with high leverage
You don’t need 20x to make money. 3-5x with good entries is far more profitable long-term than 50x with liquidations.
2. No stop-loss
“I’ll close it manually if it goes against me.” No, you won’t. You’ll hope it comes back. Set automated stop-losses on every trade.
3. Averaging down on losers
Adding to a losing position increases your risk. If your analysis was wrong, accept the loss and move on.
4. Revenge trading
After a loss, the urge to immediately make it back leads to larger positions and worse decisions. Take a break after losses.
5. Overtrading
Not every candle is a trade signal. The best traders are patient and selective. Quality over quantity.
6. Ignoring funding rates
Holding a position through multiple funding rate payments can eat your profits. Check the current rate before entering long-term positions.
7. Trading without a plan
If you can’t write down your entry, stop-loss, and target before placing the trade, you’re gambling — not trading.
Getting Started Checklist
- Binance account created with referral code RATE20 (20% off)
- BNB purchased and fee payment enabled (additional 25% off)
- Futures account activated and quiz completed
- Small amount transferred to futures wallet ($50-100)
- Leverage set to 3x maximum
- First trade placed with proper stop-loss and take-profit
- Trading journal started to track every trade
Start small, use low leverage, always set stop-losses, and treat your first month as education — not an attempt to get rich.
Referral safety check
Know what a referral link actually provides
Be cautious with referral codes or links that do not clearly identify their provider and benefit. SmallDrift’s official RATE20 link provides a 20% trading-fee discount, and Binance’s signup page transparently displays SmallDrift, RATE20, the discount, and the referral benefit before account creation.
Continue reading